History

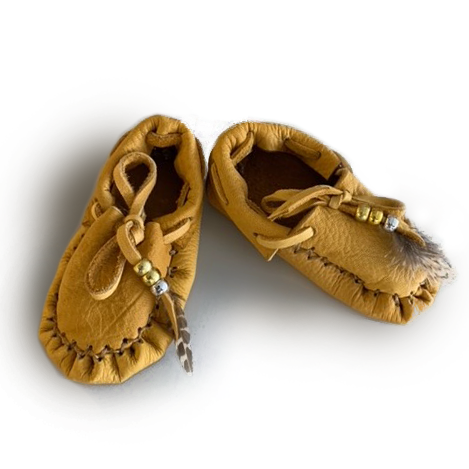
All American Indian moccasins were originally made of soft leather– usually deerskin– stitched together with sinew. Though the basic construction of Native American moccasins was similar throughout North America, moccasin patterns were subtly different in nearly every tribe, and Indian people could often tell each other’s tribal affiliation simply from the design of their shoes. Tribal differences included not only the cut of the moccasins designs among different tribes, but also the extensive beadwork, quillwork, painted designs, and fringes many Indian people lavished on their moccasins. In some tribes hardened rawhide was used for the sole for added durability, and in others rabbit fur (or, later, sheep skin) was used to line the leather moccasins for added warmth. Both men and women wore moccasins, although in many tribes the decoration of male and female moccasins used a different pattern. Plains Indian women also wore moccasin boots sometimes, which were basically just womens’ thigh-length leggings sewn to their moccasins for a one-piece look (this style of boot is very beautiful when fully quilled). Heavier-duty boots called mukluks were the invention of the Inuit (Eskimos), who made them of sealskin, fur, and reindeer hide; some subarctic Indian tribes adapted the mukluk style of boots through trade or other contact with the Inuit, using caribou or buckskin instead of sealskin. Today, women adapted the design of the mukluks as part of their traditional wears.

Assembly Instructions

INSTRUCTIONS

    1. Lay down the sole and apron so they’re on top of each other,
      moving the apron to one side of the sole, making sure the apron is
      upside down, as you’ll want the smooth sides facing inward
    2. Lace in the sinew through the needle hole and thread through the
      first hole of the apron
    3. Lace through until we end up with equal lengths of the sinew and
      tie a knot to hold together, then lace the one side of the sole and
      apron together, matching the pre-cut holes until we reach the end
    4. Slip the needle off the sinew lace and repeat with the existing lace
      from the start and lace in vise versa to the end, creating a crosshatch stitching
    5. When you reach the end, tie the laces together 4 times to secure
    6. Begin to lace in the heel part of the moccasin together starting
      with the vertical part
    7. Lace through one end and pull together until the 2 ends meet
      equally and tie 1 knot and proceed to the end and repeat with
      cross-hatch stitching to the end with 4 knots tied for securing
    8. Lace in the horizontal part of the heel and do the same as we did
      with the vertical part, then flip the moccasin inside out
    9. Add on the rim with leather lacing, and begin to lace in the rim at
      the heel
    10. Lacing in from the inside mid way of the rim, lace going through
      the rim, moccasin and rim again and repeating the same with the
      other hole next to it, then pull out to equal length and begin to lace
      in each side of the rim holes to the end, the laces should come out
      equal lengths
    11. Tie together with a bow

OPTIONAL STEPS

    1. If you have beads you can add them on to one end of the sinew.
    2. Once you have added three of four of your favourite colour beads, tie a small knot on the end to make sure they stay in place. 

TIME REQUIRED

MATERIALS INCLUDED

MATERIALS NOT INCLUDED

Curriculum Outcome

- suitable for junior kindergarten and up -

Buy Your Kits Today!

We offer graduated pricing, and ship by Canada post! If you need your product by a certain date, please, let us know, and we’ll be certain to get it to you.

  • 15-25 Kits $30 ea.
  • 26-40 Kits $27 ea.
  • 41+ Kits $23 ea.